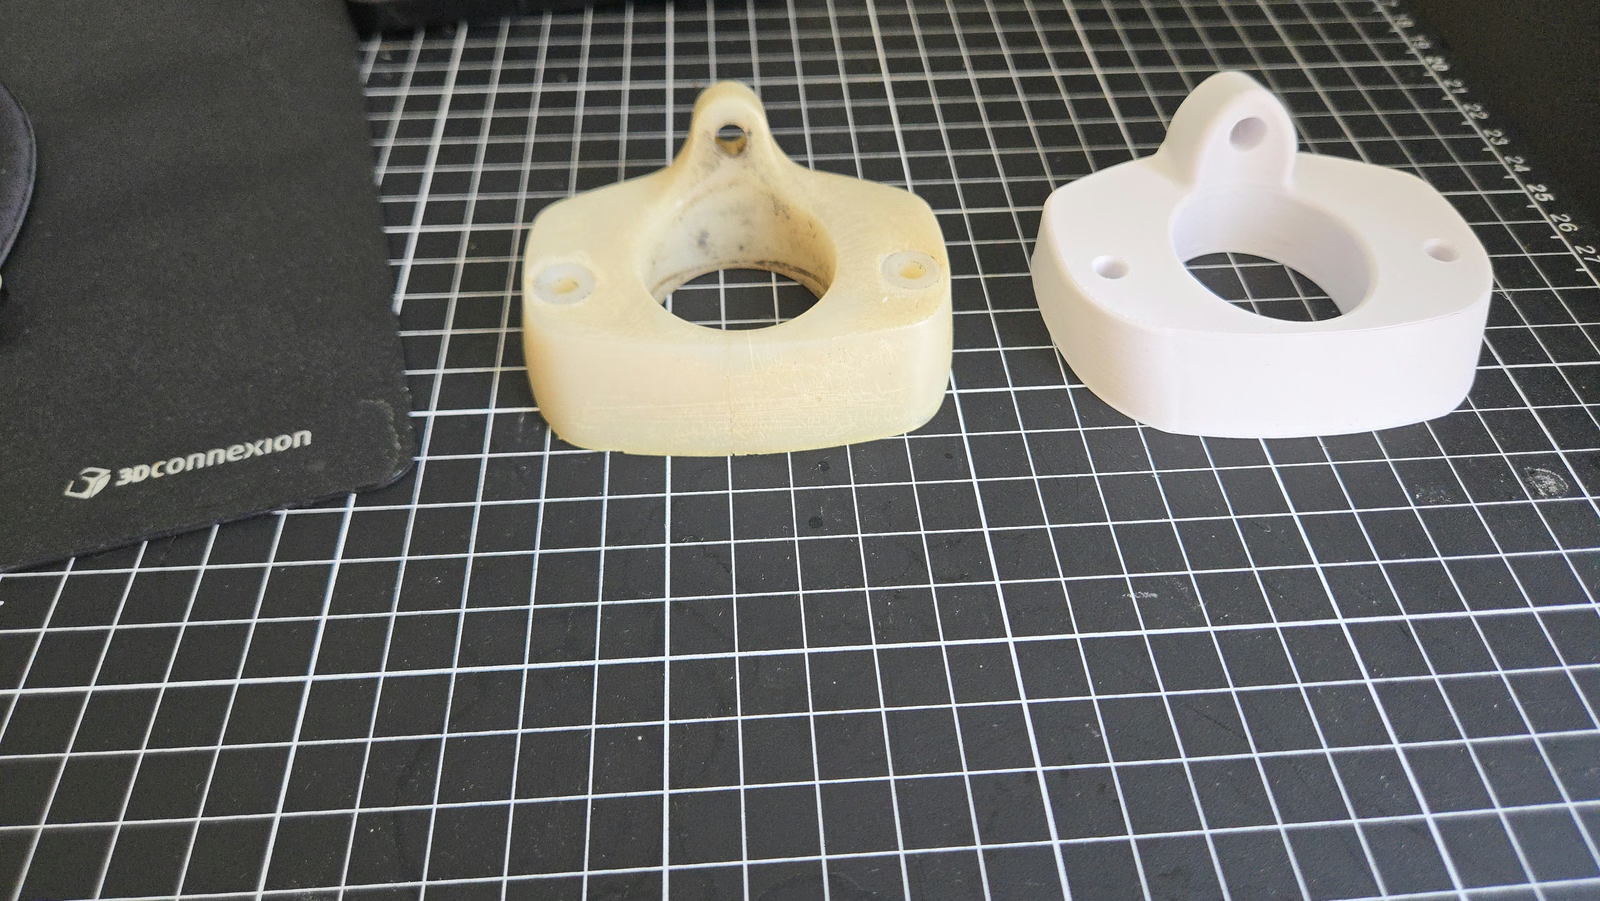
An original part and its printed replacement
A replacement part needs to account for the shape of the original. Here, a damaged off-white duct provides the reference for a green printed body, bringing a broad flanged opening, a narrowing transition and a smaller outlet into one part.
The original has visible damage around its opening and along the adjoining edges. Its remaining body still gives a clear view of the overall form: the wide entrance, the curved sides and the smaller outlet at the opposite end. Those features define the comparison.
The green print follows that same broad arrangement. Its wide opening flows into a narrower body, while the flange forms a continuous rim around the entrance. The second angle makes the change in cross-section easier to see, together with the print’s surface and edges.
The result is a complete printed duct body, placed beside the original for direct comparison. Both views keep the two parts together, so the opening, body transition and outlet can be considered as a whole rather than as isolated details.